Full Audit Trail
View history
A key feature of your ELN is the fact that all entry creations and edits to an entry are recorded, along with the time and date of the action. This is then collected as a full audit trail, which can be viewed alongside the entry. By clicking on a specific edit, the entry will be shown as it was when that edit was made and highlighted in the window on the right. Green highlights indicate that an element was added, red means that something was deleted and yellow shows edited elements. This is useful to identify if at some point a mistake was made or simply to keep track of what has been done and when.
- Go to your
Notebook. - Find the entry you wish to see the history for.
- Click on the clock icon to view your change
History. - A lightbox will open, showing the full audit trail on the left hand and your entry on the right hand side.
Download content
The entry history also ensures the integrity of your data files. Imagine that you want to restore an entry element that you deleted or the original file of an annotated image. The entry history allows you to download your data from the historical view. Retrieve files, images, sketches, and tables before you edited them. Although text elements cannot be downloaded, you are able to select and copy the text within.
-
- Go to the entry
History. - Find the last edit right before you deleted the data or element.
- Here you will see the entry still with the deleted data.
- Click on the
⯆in the top right corner of the element and yourDownloadwill begin.
- Go to the entry
Sign and Witness
Activate the app
Most likely if you are an industry lab, entries and their data will need to be signed and witnessed by other team members or supervisors. This might be in order to comply with FDA regulations or ISO standards. Therefore, your electronic notebook contains a Sign & Witness app that can be installed for free via our App Store. For customers who need to manage more complex verification processes, we have developed an app called Signature Workflows, which is available as a paid add-on to Labfolders Advanced Version. This app can be activated on group level and is designed to easily create tailor-made witnessing processes. Here you can find out more about Signature Workflows
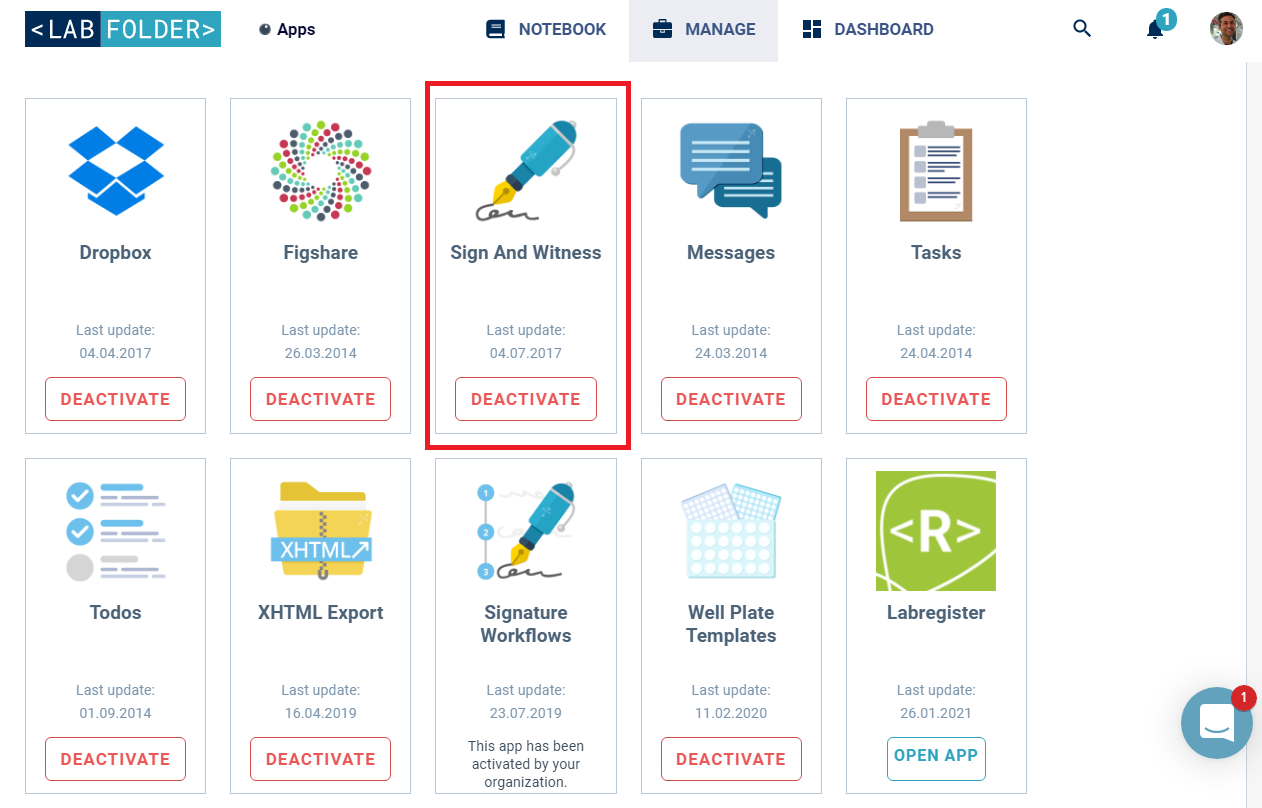
- Go to
Manage>Apps. - Click
Activateon theSign & Witnesstile.
Sign and request a witness
The workflow of witnessing an entry in your ELN is very similar to using a paper lab book. Importantly, you will need to sign the entry in your ELN before you can request a witness. You can sign with a written signature or through your login credentials. If an entry has been signed and/or witnessed it will gain an entry footer. Here you can find information on who has signed and witnessed the entry and when. A unique hash-sum is also added to the footer, related to the data recorded.
- Go to the entry you want to sign and have witnessed.
- Click the three dots in the right-hand corner and select
Sign Entry. - Now you have the option to send the entry to a colleague for witnessing.
- Select the user who should witness your entry and press
Send.
![]() You can only sign entries that are your own and can only witness those of others.
You can only sign entries that are your own and can only witness those of others.
Create offline archives
Advanced version
Activate the app
With Labfolder you can export your entire notebook’s content, to be stored for your record and to provide an overview of what you had in your notebook at that particular time. Just make sure you have activated the XHTML Export app:
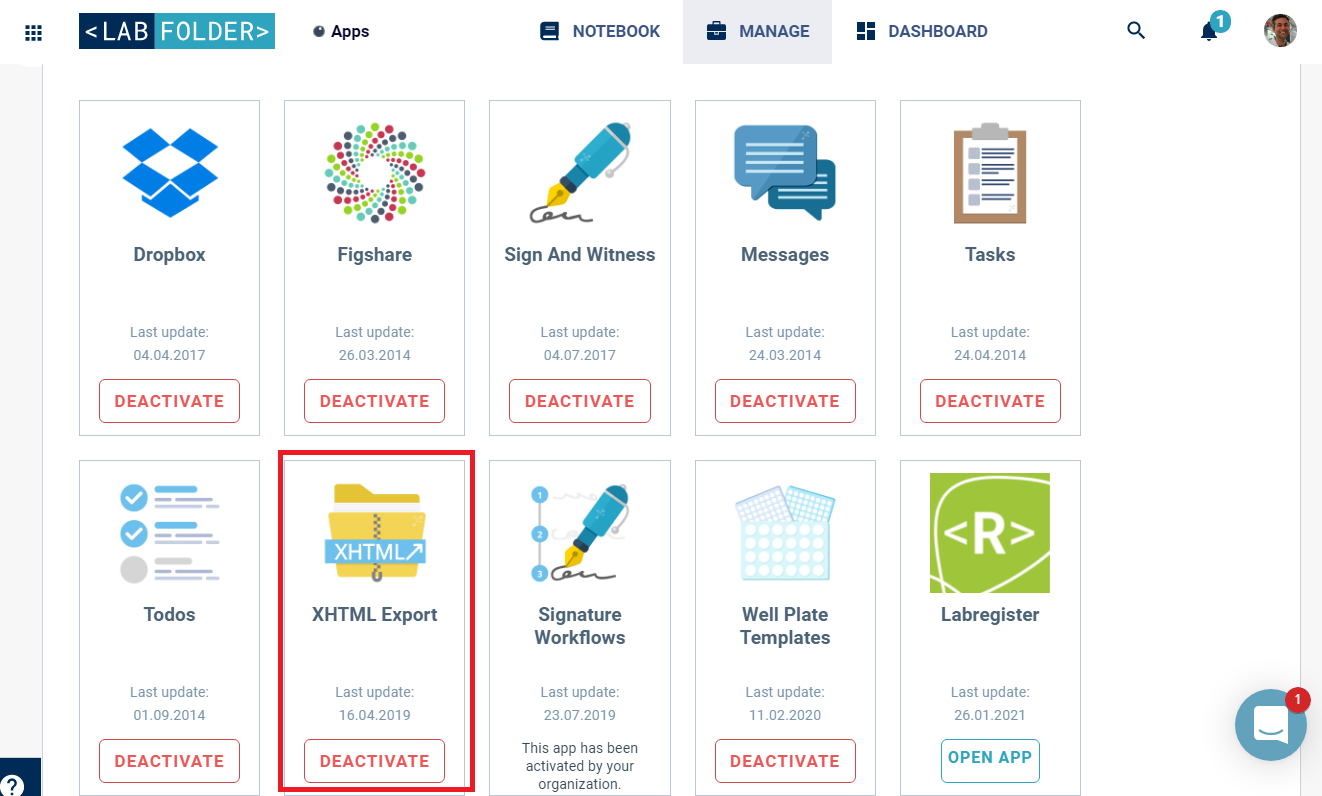
- Go to
Manage>Apps. - Click
Activateon theXHTML Exporttile.
Create a XHTML export file
- Navigate to
Manage>Exports. - Select
+ Create XHTML Export. - You will be notified when the export document containing all the projects you own has been generated.
Download the XHTML file
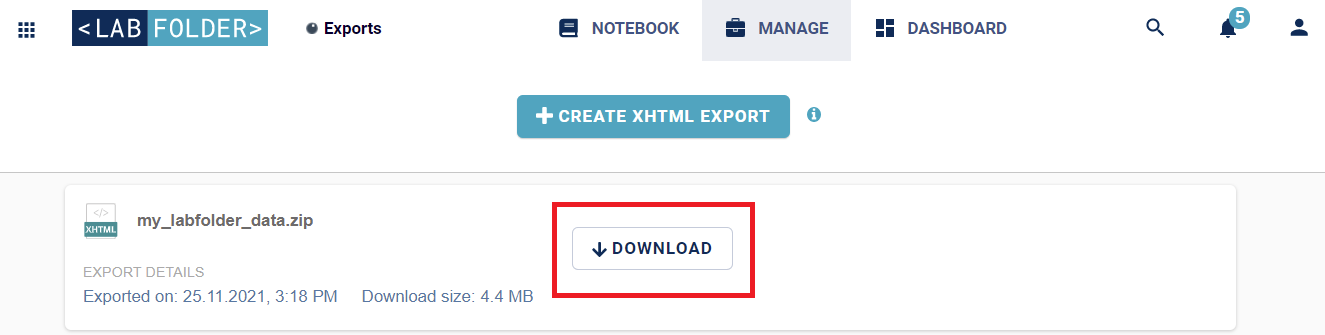
- A notification will appear as soon as your XHTML export file is ready.
- After clicking the notification message, you will be automatically directed to the
Exportspage. - Here you can download the .zip file containing your export.